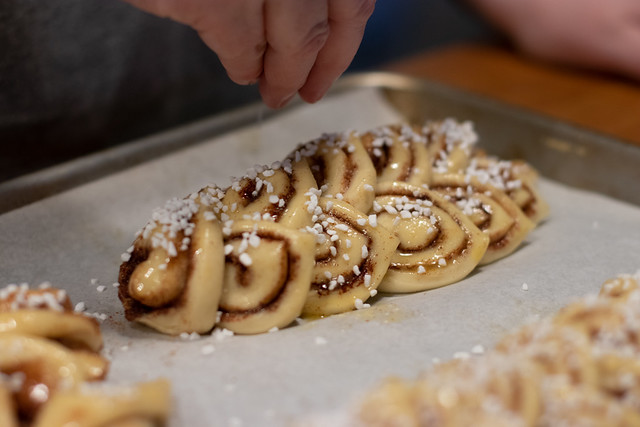
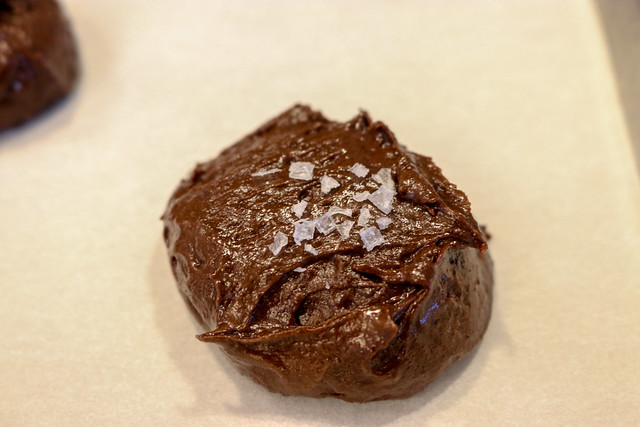
Strawberries, Sweetened Red Beans, and Mochi = YUMMY
Hello! I've always wanted to make Fresh Strawberry Daifuku Mochi and finally made it! When I posted photos to Instagram, several people asked for the recipe. I felt I couldn't just give you the recipe because there's some technique involved. So, here is a video of me making Strawberry Daifuku Mochi. It's a fresh strawberry covered with anko (sweetened red Azuki beans, smooth texture), covered with mochi made with Koda Farms Mochiko sweet rice flour.
This video uses the microwave method. You can search the interwebs for a steamed method. I adapted recipes and techniques from Just One Cookbook, Bon Appetit, and my 40+ years of mochi making experience with my family. Also, I worked in a mochi & manju shop while in high school (Sakura-ya in Gardena, CA - um, seriously the best mochi in Southern California), and I helped make mochi during their busy New Year's holiday season.

- Work fast - mochi needs to be hot/very warm when you form it. That's why this is a small batch.
- Make sure your hands have potato starch on them to prevent sticking when working with hot mochi. You know what sucks and could hurt you? Having sticky HOT mochi stuck to your hands. It's a pain. Thus, if children are helping, you need to be careful.
- If you screw up microwaving the mochi, just make another batch. You are using a small amount of ingredients and your box of Mochiko will give you several batches. (I overcooked it once and had to start over).
- Some of the video is sped up so I'm not working that fast. Please know that I've been making mochi and baking for a long time. I can hold hot mochi in my hands pretty easily. I think forming mochi might be one of those "harder than it looks on the video" techniques. But keep practicing and you'll get it! And no matter what it looks like, it's delicious!
- I've only ever used Koda Farms Mochiko sweet rice flour made with short-grain glutinous rice. This California family business has been making Mochiko for the Japanese American community forever. Support them and follow them on IG. Also, "sweet" rice doesn't mean any sweetener is added, it refers to the type of rice. (You can't use Bob's rice flour because that is made with medium and long grain rice. You need the short-grain rice flour... just get Koda Farms and you'll be good.)
- This isn't the only way to make mochi. The interwebs has lots of videos and recipes. The ratio of mochi, anko, and strawberry varies.
- FYI - I can't make this low-carb and have never substituted real, granulated sugar for other sugars. Koda Farms Mochiko is rice flour and gluten-free. Anko (sweetened Azuki beans) is usually gluten-free but read labels carefully.
- I have seen people substitute corn starch for potato starch and I think that'll work. You brush off most of the powder.

Ingredients:
3/4 cup Koda Farms Mochiko rice flour (link on Amazon) (Hey, I noticed that I have the wrong amount on the video. The correct amount is 3/4 cup Mochiko).
3 Tablespoons granulated sugar
1/4 cup cold water
Anko (sweetened azuki red beans), smooth (comes in smooth and rough texture. I prefer smooth for mochi) (link on Amazon)
6-8 small or medium fresh strawberries
Preparation (see video for details):
- Cover strawberries with a thin layer of anko. Refrigerate until ready to use.
- In a microwave safe bowl, mix mochiko and sugar. Add water and stir until smooth and well combined.
- Cover with plastic wrap and microwave 1 minute. Remove and stir with spatula.
- Return covered dish to the microwave for 30 seconds. Remove and stir.
- Microwave another 30 seconds and stir.
- Finally, microwave another 30 seconds and stir. Mochi needs to be smooth and sticky.
- Microwave times may vary because all microwaves are different.
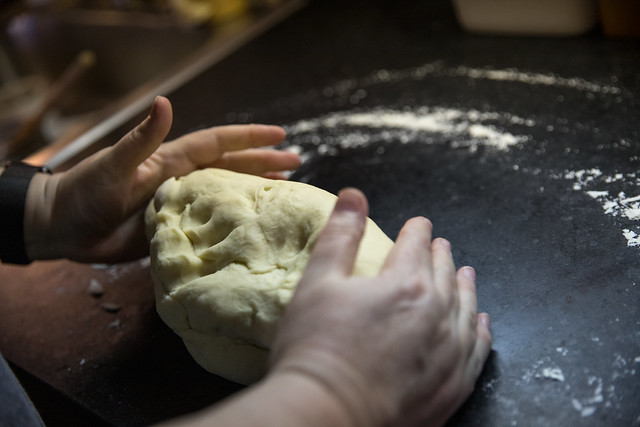
- Spread potato starch on work space, and plop mochi on the potato starch.
- Cut small pieces of mochi and form into a circle.
- Wrap anko covered strawberries with mochi, placing seal at the bottom.

* I am part of Amazon Affiliates program so I can earn a few pennies if you purchase something - at no cost to you.
Music in video by Ben Sound. Thank you!